



Budget House Elevation Design Ideas for Middle Class Homes in India
11-09-26 | Architectural Insights
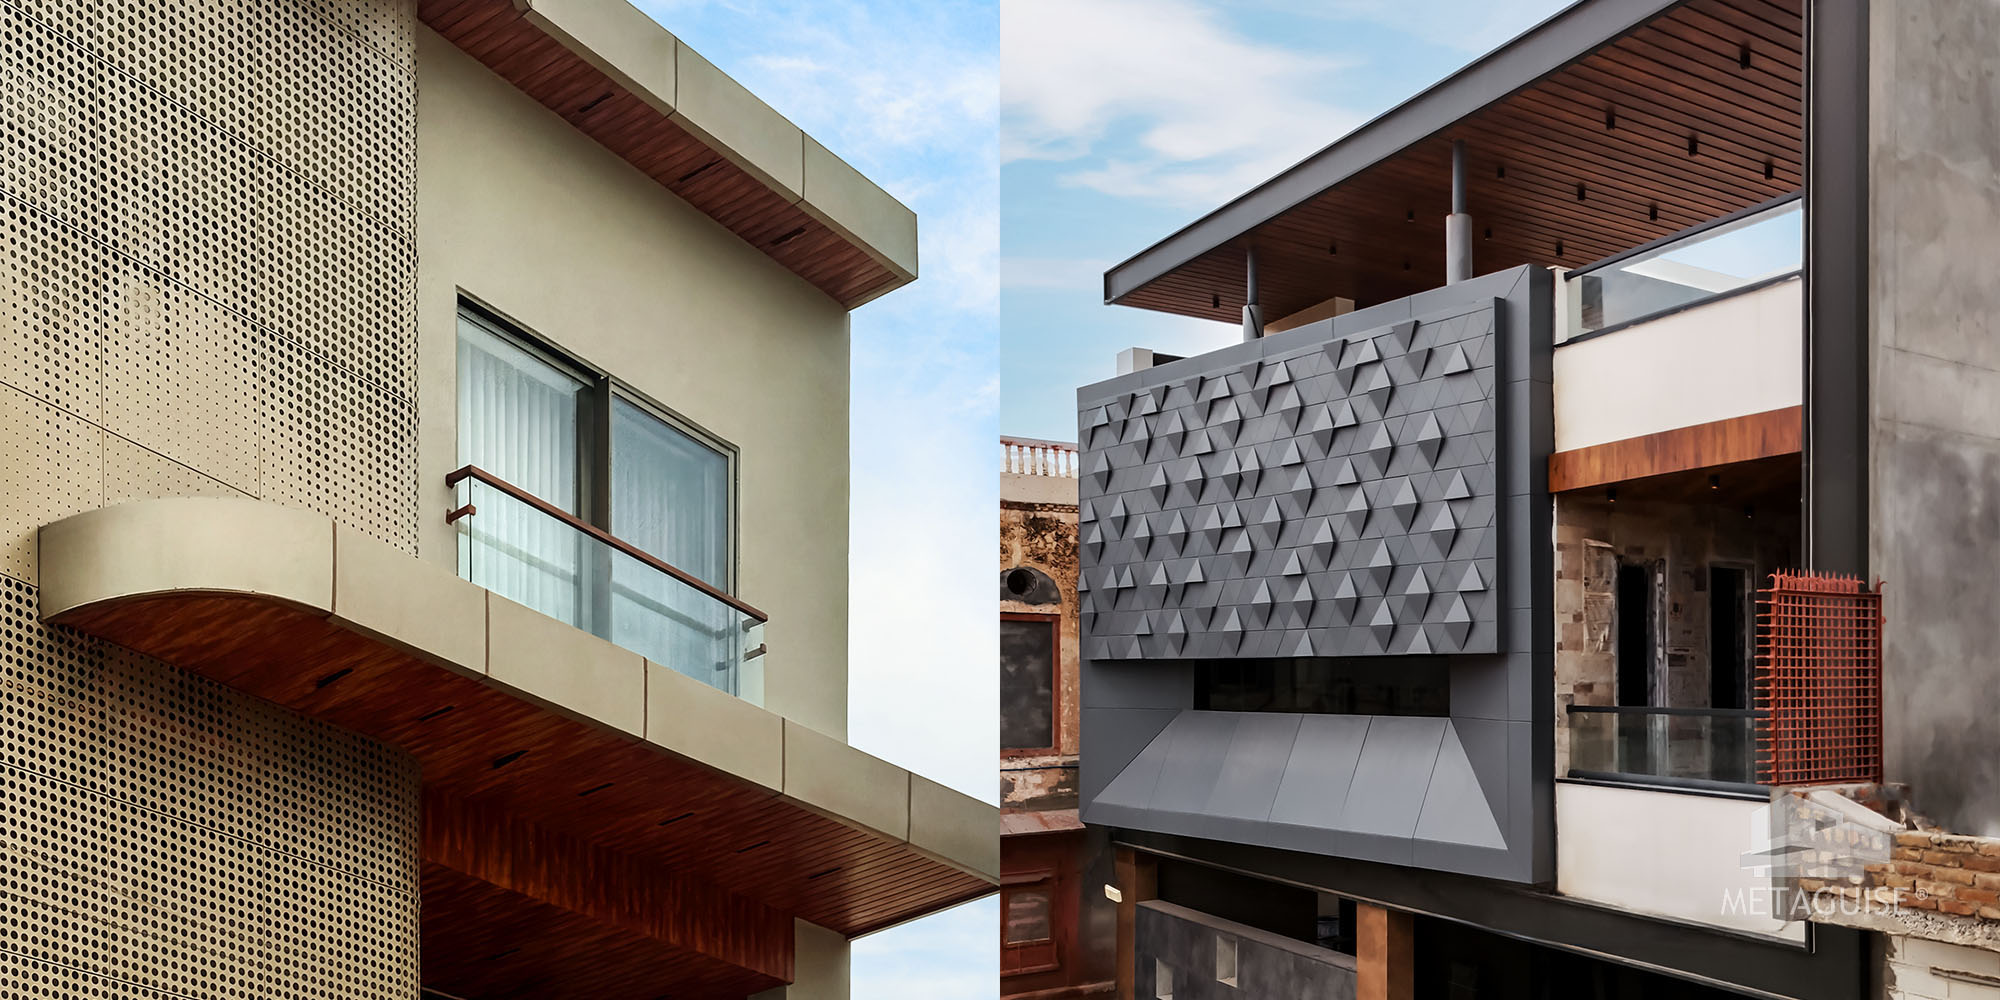
Why Elevation Design Still Matters on a Budget
Most elevation design content online is aimed at luxury bungalows and ₹5 crore villas, which is not particularly useful for the large majority of Indian homeowners building a 30x40 or 40x60 plot on a tight construction budget. Yet the front elevation still carries the same weight for a middle class home as it does for a mansion. It is the first thing guests and buyers see, it influences resale value, and a poorly finished facade can make an otherwise well-built home look unfinished or cheap.
The good news is that elevation design is not purely a function of money. A well-proportioned, thoughtfully detailed home with two honest materials will almost always look better than a house with five different finishes applied because they were each individually affordable. Budget elevation design is really about sequencing decisions correctly and knowing exactly where a rupee spent actually shows.
Where Elevation Cost Actually Goes
Understanding cost drivers helps homeowners avoid overpaying for the wrong things. Plain wall area finished in texture paint is the cheapest component of any elevation, typically ₹150 to ₹300 per square foot including labour and material. Cost climbs sharply the moment cladding, stone or metal panels are introduced, both because the material itself costs more and because it needs a substructure, waterproofing detailing and skilled installation labour that plain paint does not require.
The other major cost driver is complexity of form. A flat, rectangular facade is always cheaper to build and finish than one with multiple projections, curves, jaalis or deep balconies, because every additional corner and junction adds labour time and waterproofing risk. For a budget project, keeping the massing simple is often the single biggest cost saving available, well before any decision about material is even made.
Budget-Friendly Elevation Ideas That Still Look Premium
- Two-tone texture paint with a contrasting band at the plinth or around window frames, which creates visual interest without any cladding cost.
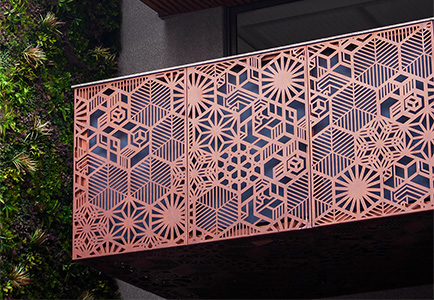
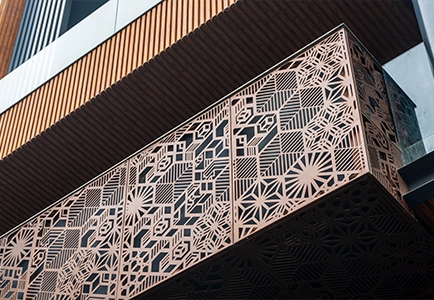
- A single accent wall, usually around the entrance or a projected balcony, finished in stone, tile or a small run of metal panelling, while the rest of the facade stays in plaster and paint.
- Exposed brick or brick-look tile as a low-cost, high-texture accent that photographs well and needs almost no maintenance.
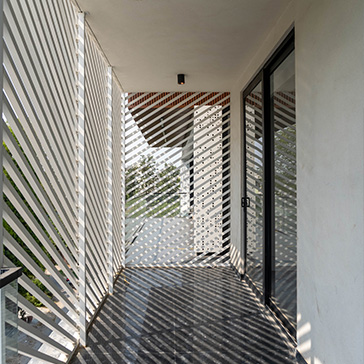
- Pergolas, metal fins or a simple louvered screen over a balcony or car porch, which adds shadow and depth using a relatively small quantity of material.
- A well-detailed main door and gate in a contrasting finish, since the entrance draws the eye first and a strong entrance treatment lifts the perceived quality of the entire facade.
What a Site Visit Before Finalising an Elevation Should Cover
Many budget elevation disappointments come not from a bad design but from a design that was approved on paper without checking how it would actually sit on the plot. Before signing off on a final elevation drawing, it is worth walking the site at the time of day the main facade will be lit by direct sun, since a colour or material that looks balanced in a rendering can look completely different under harsh afternoon light. It is also worth checking sightlines from the road and the neighbouring plot, since a feature that looks central in a flat elevation drawing might be partially blocked by a boundary wall, a tree, or the neighbour's own construction in real life.
Where possible, ask the contractor or facade company to mock up the accent material, even a small physical sample panel held against the actual wall, rather than relying only on a printed swatch or a screen rendering. Colour and texture read very differently at full scale outdoors than they do on a small sample indoors, and this simple step prevents a large share of the repainting or redoing that eats into already tight budgets.
Materials That Balance Cost and Looks
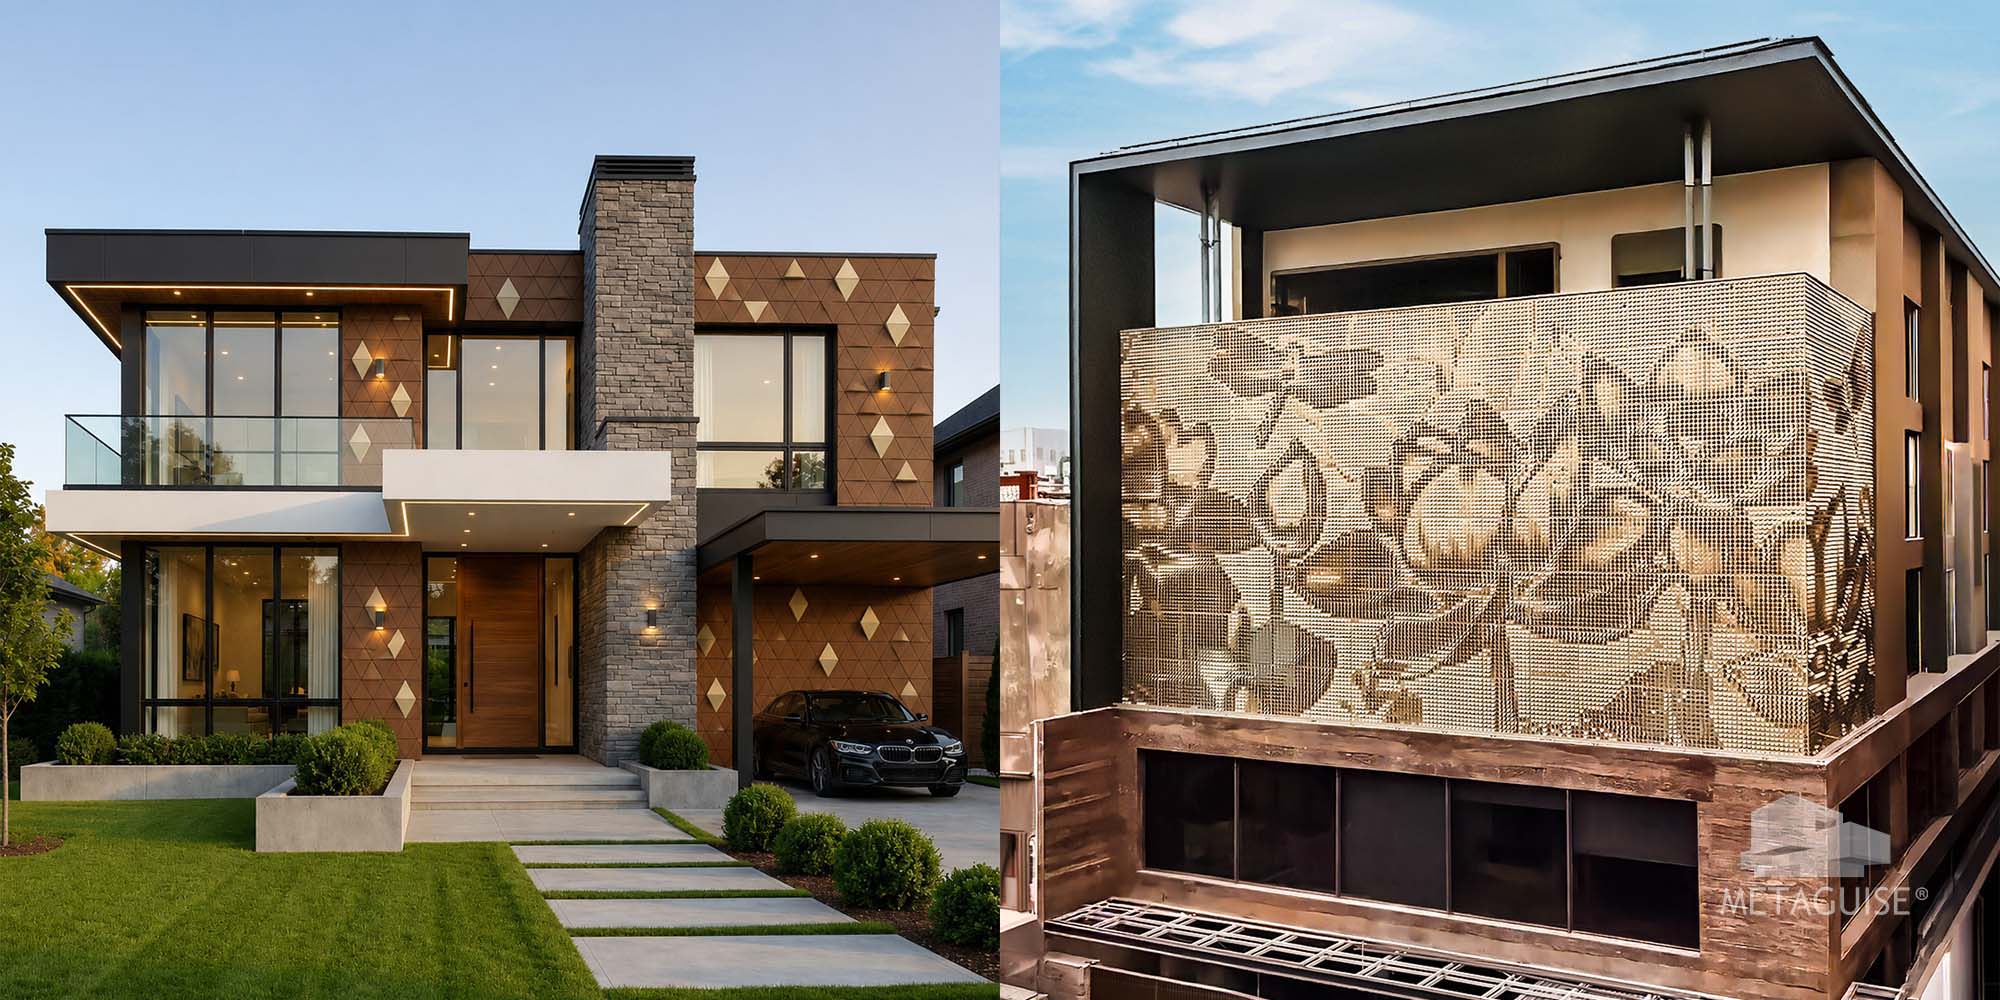
For most budget projects, the practical hierarchy runs from texture paint at the low end, through brick or tile cladding in the mid-range, up to entry-level metal panels for accent areas. Full metal cladding across an entire facade is usually out of reach for a strict budget project, but using it selectively, for example only on a balcony front or an entrance canopy, brings the material into reach because the quantity required is small. A common approach we see work well is texture paint as the primary finish across 80 to 85 percent of the facade, with the remaining 15 to 20 percent, typically the entrance and one feature element, finished in a more premium material. This concentrates the budget where it is seen most and creates a facade that reads as considered rather than uniformly cheap. For a fuller comparison of material lifespan and cost, see our guide to house exterior design materials that last 30+ years.
G+1 and Single Floor Budget Elevation Ideas
Single floor and G+1 homes are actually well suited to budget elevation strategies because there is less total surface area to finish. A clean box form with a slightly projected entrance canopy, a contrasting colour band, and a small feature wall near the door can look complete and current without needing extensive cladding. Keeping window sizes and positions aligned across the facade, rather than randomly placed, also makes a huge difference to how organised the elevation looks, and costs nothing extra to plan correctly at the design stage.
Mistakes That Waste Money on a Budget Elevation
- Mixing too many materials because each one individually seemed affordable, which ends up looking cluttered rather than economical.
- Choosing the cheapest available paint or panel grade, which fades or delaminates within two to three years and needs redoing sooner than a slightly better grade would have.
- Adding decorative elements like columns, arches or moulding purely because a neighbour has them, without considering whether they suit the building's proportions.
- Skipping waterproofing detailing behind any cladding or stone work to save cost, which is the single most common cause of costly repairs within a few years.
- Finalising the elevation design after construction is already underway, which forces last-minute compromises instead of planned decisions.
When It Is Worth Spending a Little More
Certain elements are worth stretching the budget for because they affect either longevity or first impression disproportionately. Waterproofing and the base coat under any paint or cladding is not the place to cut cost, since failure there is expensive to fix later. The main entrance door and the immediately surrounding wall area is worth a slightly higher finish, since it gets the most visual attention of any part of the facade. Coating quality on any metal element, even a small gate or grille, is worth paying for, since a lower grade coating rusting or fading within a couple of monsoons costs more in repainting than the price difference would have been upfront.
Choosing Colours for a Budget Elevation
Colour is the cheapest design tool available and often the most underused one. A two-tone or three-tone scheme, where a dominant neutral such as off-white, warm grey or beige is paired with one darker accent colour on the plinth, window bands or a feature wall, consistently looks more current than a single flat colour across the whole facade, and costs the same in paint and labour. Darker colours on large west or south-facing walls in hot Indian cities do absorb more heat, so it is worth keeping bold, dark colours to smaller accent areas rather than full walls that receive direct afternoon sun for most of the year.
It also helps to test colour combinations against the roof tile, gate and boundary wall colour before finalising, since a facade colour that looks good in isolation can clash badly once the whole property is viewed together. Many paint brands now offer exterior visualiser tools that let homeowners preview combinations on a photo of their own house, which is a free way to avoid an expensive repainting mistake.
Sample Budget Elevation Combinations
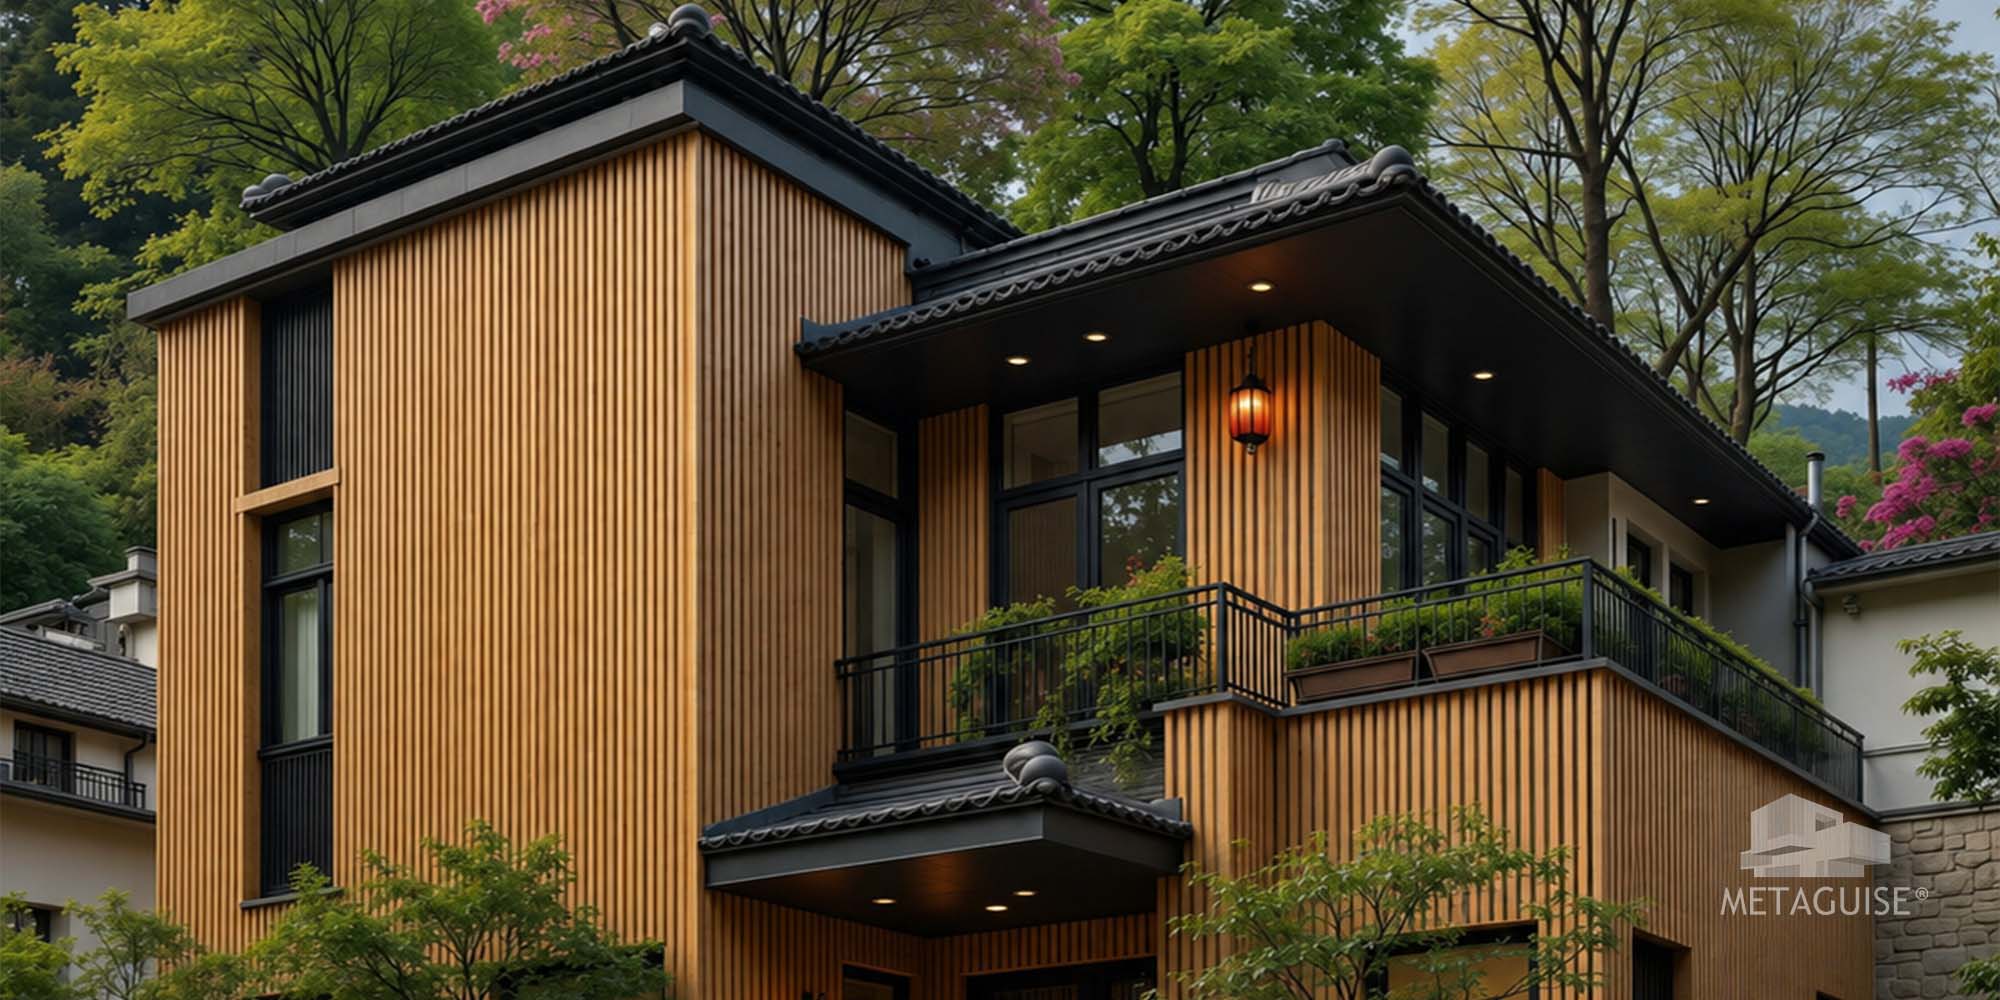
- Off-white texture paint body with a charcoal grey plinth band and a small wood-look laminate panel around the main door.
- Warm beige plaster with exposed brick cladding on one vertical accent strip running from ground to roof level.
- Light grey painted body with a black metal balcony railing and a matching black frame around the entrance door for contrast.
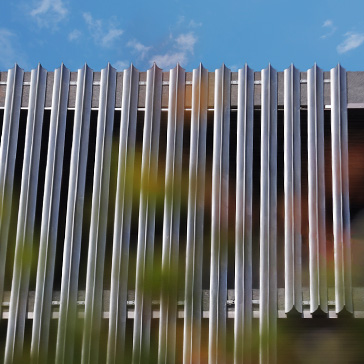
- Sand-coloured texture finish with a single fluted metal accent panel, roughly 40 to 60 square feet, positioned beside the main entrance.
- White body with a terracotta or rust-toned accent wall near the porch, paired with dark grey window frames to tie the palette together.
Working with a Facade Company on a Mid-Size Budget
Homeowners often assume metal facade companies only work on large luxury projects, but engineered metal systems are typically priced per square foot, which means they scale down naturally to smaller accent applications rather than requiring an all-or-nothing commitment. Metaguise, which has delivered more than 1,800 projects across India, prices its systems across a range of roughly ₹800 to ₹2,500 per square foot depending on the material and pattern, and homeowners regularly use this for a single balcony front, a gate or an entrance feature rather than an entire facade, which keeps the total cost well within a mid-size project budget while still getting factory-finished quality and a proper coating warranty.
Doing the Elevation in Phases
Not every budget elevation has to be finished in one shot. A practical approach many middle class homeowners use is to complete the structural and waterproofing work along with a clean, well-painted base finish at the time of construction, and add the premium accent element, such as a metal feature panel or stone cladding strip, six months to a couple of years later once the immediate construction budget has eased. This works well as long as the substructure points for the future accent, such as mounting brackets or a recessed niche, are planned and built in during the original construction phase, so the upgrade can be installed cleanly later without cutting into a finished wall.
The one area this phased approach should not be applied to is waterproofing and the base plaster coat, since both need to be done correctly the first time regardless of budget, as fixing them later after cladding or paint is applied is far more expensive than doing them right at the outset.
Planning Your Budget Elevation
The most reliable way to get a good result on a limited budget is to decide the primary finish and one accent material early, get a clear per-square-foot quote broken down by area rather than a single lump sum, and resist the temptation to add extra decorative elements once construction has started. A simple, well-proportioned facade in two honest materials will consistently outperform a busier design that tried to do too much with too little money.
If you want to understand what a small metal accent, such as a balcony front or entrance feature, would cost for your specific home, you can build your facade with Metaguise or contact the team for a project-specific estimate.
11-09-26 | Architectural Insights
Why Elevation Design Still Matters on a Budget
Most elevation design content online is aimed at luxury bungalows and ₹5 crore villas, which is not particularly useful for the large majority of Indian homeowners building a 30x40 or 40x60 plot on a tight construction budget. Yet the front elevation still carries the same weight for a middle class home as it does for a mansion. It is the first thing guests and buyers see, it influences resale value, and a poorly finished facade can make an otherwise well-built home look unfinished or cheap.
The good news is that elevation design is not purely a function of money. A well-proportioned, thoughtfully detailed home with two honest materials will almost always look better than a house with five different finishes applied because they were each individually affordable. Budget elevation design is really about sequencing decisions correctly and knowing exactly where a rupee spent actually shows.
Where Elevation Cost Actually Goes
Understanding cost drivers helps homeowners avoid overpaying for the wrong things. Plain wall area finished in texture paint is the cheapest component of any elevation, typically ₹150 to ₹300 per square foot including labour and material. Cost climbs sharply the moment cladding, stone or metal panels are introduced, both because the material itself costs more and because it needs a substructure, waterproofing detailing and skilled installation labour that plain paint does not require.
The other major cost driver is complexity of form. A flat, rectangular facade is always cheaper to build and finish than one with multiple projections, curves, jaalis or deep balconies, because every additional corner and junction adds labour time and waterproofing risk. For a budget project, keeping the massing simple is often the single biggest cost saving available, well before any decision about material is even made.
Budget-Friendly Elevation Ideas That Still Look Premium
- Two-tone texture paint with a contrasting band at the plinth or around window frames, which creates visual interest without any cladding cost.
- A single accent wall, usually around the entrance or a projected balcony, finished in stone, tile or a small run of metal panelling, while the rest of the facade stays in plaster and paint.
- Exposed brick or brick-look tile as a low-cost, high-texture accent that photographs well and needs almost no maintenance.
- Pergolas, metal fins or a simple louvered screen over a balcony or car porch, which adds shadow and depth using a relatively small quantity of material.
- A well-detailed main door and gate in a contrasting finish, since the entrance draws the eye first and a strong entrance treatment lifts the perceived quality of the entire facade.
What a Site Visit Before Finalising an Elevation Should Cover
Many budget elevation disappointments come not from a bad design but from a design that was approved on paper without checking how it would actually sit on the plot. Before signing off on a final elevation drawing, it is worth walking the site at the time of day the main facade will be lit by direct sun, since a colour or material that looks balanced in a rendering can look completely different under harsh afternoon light. It is also worth checking sightlines from the road and the neighbouring plot, since a feature that looks central in a flat elevation drawing might be partially blocked by a boundary wall, a tree, or the neighbour's own construction in real life.
Where possible, ask the contractor or facade company to mock up the accent material, even a small physical sample panel held against the actual wall, rather than relying only on a printed swatch or a screen rendering. Colour and texture read very differently at full scale outdoors than they do on a small sample indoors, and this simple step prevents a large share of the repainting or redoing that eats into already tight budgets.
Materials That Balance Cost and Looks
For most budget projects, the practical hierarchy runs from texture paint at the low end, through brick or tile cladding in the mid-range, up to entry-level metal panels for accent areas. Full metal cladding across an entire facade is usually out of reach for a strict budget project, but using it selectively, for example only on a balcony front or an entrance canopy, brings the material into reach because the quantity required is small. A common approach we see work well is texture paint as the primary finish across 80 to 85 percent of the facade, with the remaining 15 to 20 percent, typically the entrance and one feature element, finished in a more premium material. This concentrates the budget where it is seen most and creates a facade that reads as considered rather than uniformly cheap. For a fuller comparison of material lifespan and cost, see our guide to house exterior design materials that last 30+ years.
G+1 and Single Floor Budget Elevation Ideas
Single floor and G+1 homes are actually well suited to budget elevation strategies because there is less total surface area to finish. A clean box form with a slightly projected entrance canopy, a contrasting colour band, and a small feature wall near the door can look complete and current without needing extensive cladding. Keeping window sizes and positions aligned across the facade, rather than randomly placed, also makes a huge difference to how organised the elevation looks, and costs nothing extra to plan correctly at the design stage.
Mistakes That Waste Money on a Budget Elevation
- Mixing too many materials because each one individually seemed affordable, which ends up looking cluttered rather than economical.
- Choosing the cheapest available paint or panel grade, which fades or delaminates within two to three years and needs redoing sooner than a slightly better grade would have.
- Adding decorative elements like columns, arches or moulding purely because a neighbour has them, without considering whether they suit the building's proportions.
- Skipping waterproofing detailing behind any cladding or stone work to save cost, which is the single most common cause of costly repairs within a few years.
- Finalising the elevation design after construction is already underway, which forces last-minute compromises instead of planned decisions.
When It Is Worth Spending a Little More
Certain elements are worth stretching the budget for because they affect either longevity or first impression disproportionately. Waterproofing and the base coat under any paint or cladding is not the place to cut cost, since failure there is expensive to fix later. The main entrance door and the immediately surrounding wall area is worth a slightly higher finish, since it gets the most visual attention of any part of the facade. Coating quality on any metal element, even a small gate or grille, is worth paying for, since a lower grade coating rusting or fading within a couple of monsoons costs more in repainting than the price difference would have been upfront.
Choosing Colours for a Budget Elevation
Colour is the cheapest design tool available and often the most underused one. A two-tone or three-tone scheme, where a dominant neutral such as off-white, warm grey or beige is paired with one darker accent colour on the plinth, window bands or a feature wall, consistently looks more current than a single flat colour across the whole facade, and costs the same in paint and labour. Darker colours on large west or south-facing walls in hot Indian cities do absorb more heat, so it is worth keeping bold, dark colours to smaller accent areas rather than full walls that receive direct afternoon sun for most of the year.
It also helps to test colour combinations against the roof tile, gate and boundary wall colour before finalising, since a facade colour that looks good in isolation can clash badly once the whole property is viewed together. Many paint brands now offer exterior visualiser tools that let homeowners preview combinations on a photo of their own house, which is a free way to avoid an expensive repainting mistake.
Sample Budget Elevation Combinations
- Off-white texture paint body with a charcoal grey plinth band and a small wood-look laminate panel around the main door.
- Warm beige plaster with exposed brick cladding on one vertical accent strip running from ground to roof level.
- Light grey painted body with a black metal balcony railing and a matching black frame around the entrance door for contrast.
- Sand-coloured texture finish with a single fluted metal accent panel, roughly 40 to 60 square feet, positioned beside the main entrance.
- White body with a terracotta or rust-toned accent wall near the porch, paired with dark grey window frames to tie the palette together.
Working with a Facade Company on a Mid-Size Budget
Homeowners often assume metal facade companies only work on large luxury projects, but engineered metal systems are typically priced per square foot, which means they scale down naturally to smaller accent applications rather than requiring an all-or-nothing commitment. Metaguise, which has delivered more than 1,800 projects across India, prices its systems across a range of roughly ₹800 to ₹2,500 per square foot depending on the material and pattern, and homeowners regularly use this for a single balcony front, a gate or an entrance feature rather than an entire facade, which keeps the total cost well within a mid-size project budget while still getting factory-finished quality and a proper coating warranty.
Doing the Elevation in Phases
Not every budget elevation has to be finished in one shot. A practical approach many middle class homeowners use is to complete the structural and waterproofing work along with a clean, well-painted base finish at the time of construction, and add the premium accent element, such as a metal feature panel or stone cladding strip, six months to a couple of years later once the immediate construction budget has eased. This works well as long as the substructure points for the future accent, such as mounting brackets or a recessed niche, are planned and built in during the original construction phase, so the upgrade can be installed cleanly later without cutting into a finished wall.
The one area this phased approach should not be applied to is waterproofing and the base plaster coat, since both need to be done correctly the first time regardless of budget, as fixing them later after cladding or paint is applied is far more expensive than doing them right at the outset.
Planning Your Budget Elevation
The most reliable way to get a good result on a limited budget is to decide the primary finish and one accent material early, get a clear per-square-foot quote broken down by area rather than a single lump sum, and resist the temptation to add extra decorative elements once construction has started. A simple, well-proportioned facade in two honest materials will consistently outperform a busier design that tried to do too much with too little money.
If you want to understand what a small metal accent, such as a balcony front or entrance feature, would cost for your specific home, you can build your facade with Metaguise or contact the team for a project-specific estimate.
Related Articles
Architectural Luxury, Within Reach: Why MetaFlutes and MetaLouvers Are the Smartest Investment in Metal Facades
In today’s built environment, luxury is no longer defined by extravagance - it’s defined by intention. It’s about refined details, enduring finishes, and design that performs as beautifully as it looks. At Metaguise, our metal facade systems - MetaFlutes, MetaLouvers, and MetaCassette Perforated - are crafted to bring that standard of architectural luxury within reach...
07-04-25 | Architectural Insights
Why Architects Are Turning to Custom Metal Louvers in 2025
There’s something quietly brilliant happening in architecture right now. As buildings become more responsive and designers look for ways to merge aesthetics with performance, one feature is making a serious comeback, custom metal louvers.
03-06-25 | Architectural Insights
The Science of Shadows: How Facade Design Shapes Light and Mood
Architecture has always been about more than structure - it’s about rhythm, reflection, and the way light interacts with space.At Metaguise, we see every innovative facade as a living canvas, one that transforms not just how a building looks, but how it feels. Light becomes our material, and shadow becomes our tool.This is the art and the science behind MetaLouvers, MetaCassette, and the entire Metaguise facade family.
13-10-25 | Architectural Insights
Custom Metal Facade Cladding in 2026: Design, Cost, Materials & Architect Guide
Explore how commercial spaces are using Metaguise facades to express identity and elevate perception.
24-11-25 | Architectural Insights
Social
Legal
Privacy Policy|Terms & Conditions